Having hot water in our homes is an essential part of our daily lives. Whether it’s taking a shower or cleaning our dishes or clothes, having hot when you need it is essential.
However, when it comes to a home’s energy efficiency and reliability of hot water delivery, the quality and reliability of a water heater are important considerations. But when looking to purchase a new or maintain a current water heater, you’ll need to know the difference between a tankless water heater and a traditional one.
How Water Heaters Work
There are a couple of different formats of water heaters.
Traditional Heaters
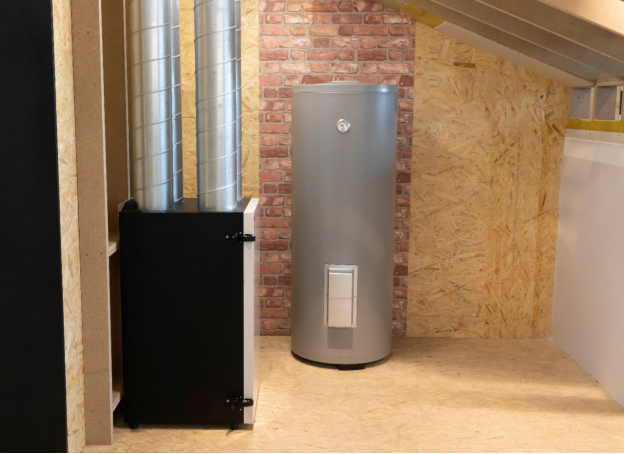
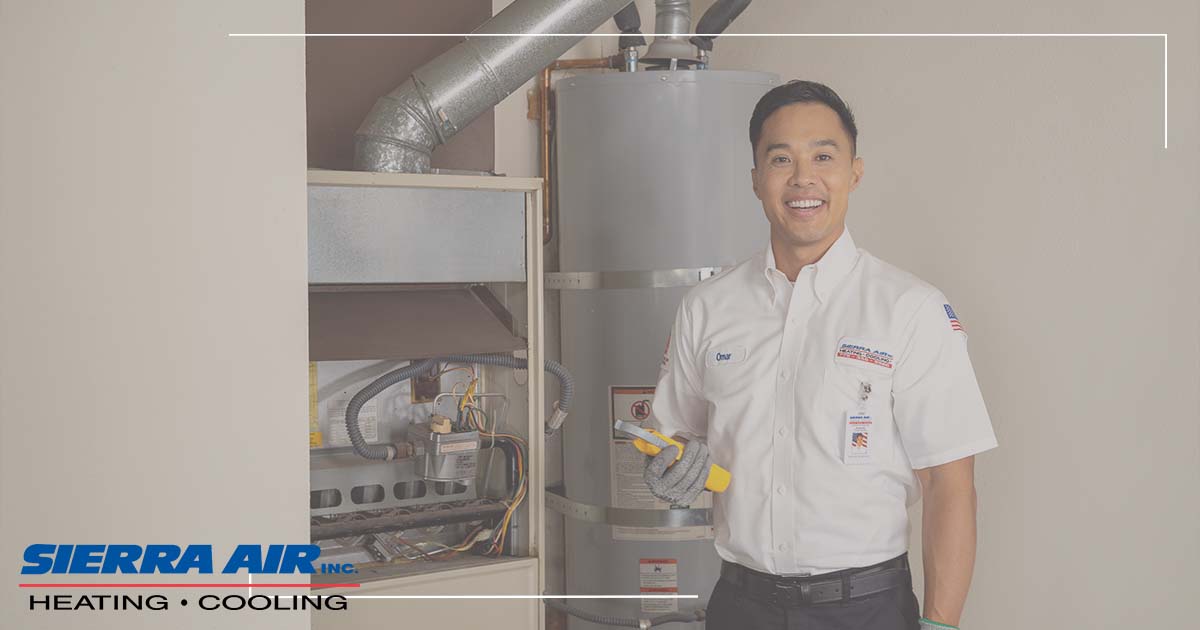
A traditional water heater uses a large insulated tank. The size of this tank will vary from model to model and can range between 40 and 80 gallons.
In a traditional water heater, the tank is where the the heated water will be stored. At the base of the tank, there will be some type of heating element – either a gas burner or an electric heating element. This is used to get the water to the desired water temperature. As cold water enters the bottom of the tank, the heated water rises to the top of the tank and is then ready to be distributed throughout the home.
Tankless Heaters
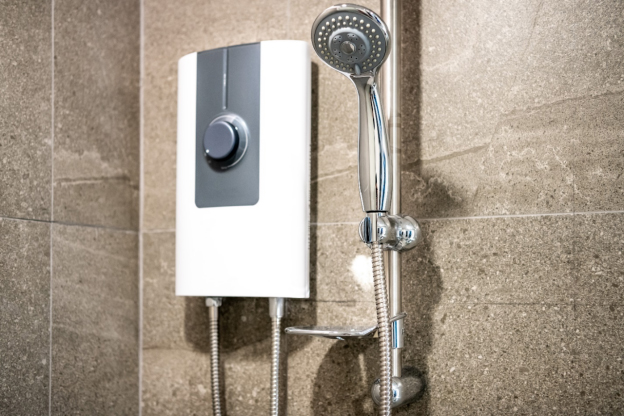
As the name implies, a tankless heater doesn’t use a tank or water reservoir when to heat the water. Instead of this approach, a tankless heater relies on a more powerful heating element to provide hot water on demand.
When hot water is needed, a tankless water heater distributes cold water through a series of pipes that pass directly over a high-efficiency heating element. The water is heated rapidly to the desired temperature and redirected to the necessary location.
Unlike traditional water heaters, which are restricted to the size of a tank, tankless water heaters can provide an endless supply of hot water as long as the heating element is properly functioning.
Comparing Energy Efficiency
Water heaters can be a large source of energy consumption in a home since they are used regularly. When comparing the energy efficiency of a traditional and tankless water heater, there are a couple of things to consider:
Traditional Heaters
The primary function of a traditional water heater is to “pre-heat” the water that is stored in its reservoir tank. While this might be convenient, it’s actually an inefficient design due to “standby heat loss.”

When you’re not actively units hot water in your home a traditional water heater will continuously expend energy to ensure the stored water maintains the correct temperature. The constant heating/reheating cycle that takes place can lead to a large waste of energy and increase monthly utility costs – regardless of your actual water use.
Tankless Heaters
Since tankless water heaters don’t rely on a water reservoir that needs to stay constantly within specified temperature ranges, they are much more efficient. Water is only heated when it’s actually needed and the heating element is activated only when a hot water faucet is opened.
This form of on-demand heating means there is no standby heat loss and can help to significantly reduce home energy consumption when compared to traditional water heater models.
Meeting Hot Water Supply
Depending on the size of your home and the amount of people living in it, the available hot water supply of your heater is something to think about.
Traditional Heaters
The hot water supply in a traditional water heater will depend on the size of the tank and how many individuals need access to the supply. Because the water supply of a traditional heater isn’t indefinite, there can be a point where there is no hot water available. This can typically happen after back-to-back showers or when simultaneously running a dishwasher or laundry machine.
If the water ever runs out completely on a traditional water heater, it can take anywhere between 30 minutes to an hour or more to replenish and reheat the hot water supply.
Tankless Heaters

A great thing about tankless water heaters is that they have a theoretically endless supply of hot water. However, the primary drawback of these solutions is the flow rate they’ll be able to support.
Flow rates of tankless heaters are measured in gallons per minute (GPM) and will dictate how much hot water demand they’ll be able to meet at once. This can be limiting in some cases depending on how often hot water is needed in multiple locations.
Home Installation and Space Considerations
While you may already have a preference regarding the type of water heater you would prefer, there are certain installation and space considerations that each formate will need.
Traditional Heaters
Because traditional heaters are so common, they are generally much easier to install and less expensive. However, they are more bulky in size and will require dedicated floor space in a basement, garage, or utility closet.
Traditional water heater installations are fairly common and most can be done without any major modifications to a home’s plumbing or electrical system.
Tankless Heaters
An advantage of tankless water heaters is that they’re considerably more compact than traditional heaters. This can be a great benefit for smaller homes or those with minimal storage areas.
That being said, the installation of a tankless water heater system is often much more complex than a traditional one. In order to support the on-demand heating capabilities of a tankless heater, homeowners may need to upgrade their gas lines or make certain electrical upgrades.
Overall Costs and Lifespan
Depending on your budget, you’ll want to carefully consider some of the budgetary pros and cons associated with a traditional vs. a tankless water heater.
Traditional Heaters
Traditional heaters generally have lower upfront costs than tankless water heating models. There are also a variety of sizes and brands to choose from, helping homeowners find an option that fits well within their budget.
Installation costs for traditional heaters tend to be more straightforward and approachable than tankless heating options due to the simplicity of the process. One thing to note, however, is that traditional water heaters tend to have a shorter lifespan and will usually need to be replaced every 10-15 years
Tankless Heaters
Because of the complexity of a tankless heater installation, the initial costs are usually considerably higher than when purchasing a traditional water heater setup. However, the longer-term value these solutions bring helps to make up for that difference.
Since they’re more energy efficient, homeowners can expect to see substantial savings on their utility bills over time. Also, the lifespan of a tankless heater can be nearly double the length of a traditional heater – typically lasting more than 20 years.
Maintenance and Troubleshooting Needs

Like any major appliance in your home, maintenance and troubleshooting needs will be something to keep in mind when deciding what type of water heater you’ll want to use.
Traditional Heaters
A traditional water heater requires a regular maintenance schedule to ensure proper operation. Most maintenance routines include flushing the tank completely to remove sediment buildup that can occur over time. After repeated use, various minerals and other particles that settle on the tank’s bottom can make it harder for the water heater to heat water properly.
How often the flushing is required will depend on the usage patterns in the home, but it is usually recommended that this be done every 1-2 years. A sacrificial anode rod made of magnesium or aluminum should also be inspected and replaced when needed. These rods are used to keep corrosion away from the tank and help extend its lifespan.
Tankless Heaters
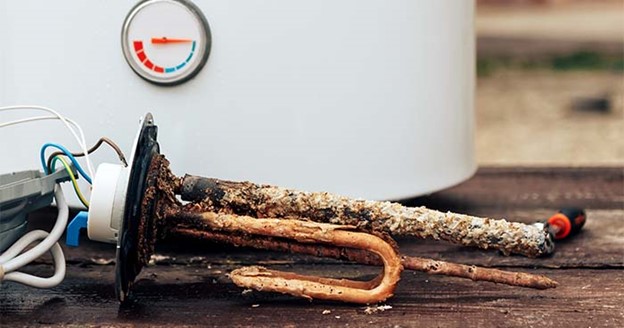
A tankless water heater typically requires less maintenance over time than a traditional model. Because there is no tank, the issue of corrosion isn’t factored in. That being said, depending on where you live, there could be hard water that can lead to mineral deposits building up on the heating elements over time. This can cause water scale, which will reduce the unit’s efficiency and make it more difficult to heat water effectively.
To prevent this form of wear and tear, the water heater should be descaling regularly. Certain tankless water heater models have built-in self-cleaning features that can help to prevent scale building, but it’s still recommended to have a regular maintenance routine scheduled by an experienced service company.
Even when regularly conducting maintenance routines, more components can malfunction or need repair in a tankless heater setup. Qualified plumbers can help to diagnose any potential issues with the setup and help to address smaller issues before they become larger, more expensive ones to address.
Choose a Water Heating Solution That’s Right for You

Choosing between a traditional or tankless water heater depends on household needs, budget, and space considerations. Whichever you prefer, it’s important to hire a contractor you can trust to handle both the installation and proper maintenance routines the way they should. Contact Sierra Air today and let them help you find the water heating solution that’s right for you.


