
How To Improve Your Water Quality With Pipe Replacement
A variety of plumbing problems can cause your water quality to decrease. Getting your pipes replaced is one of the...
Read MoreExpert advice from Sierra Air's certified technicians
A variety of plumbing problems can cause your water quality to decrease. Getting your pipes replaced is one of the...
Read More
Having an unexpected AC problem in the middle of the summer can be a difficult thing to deal with. Although...
Read More
If you just began your search for new water, there are a couple of different types to consider for your...
Read More
Have you ever spent a day cleaning, only to find that your house is dusty a few days later? Dusting...
Read More
An HVAC system is a big home investment, but it’s not always easy to pay for. Fortunately, you have options...
Read More
The thought of pollution often triggers smog in cities, exhaust from vehicles, or black smoke coming from industrial buildings. But...
Read More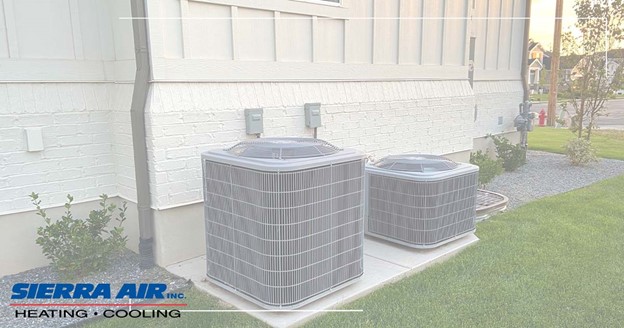
Finding the right size air conditioner for your home is crucial to stay comfortable without breaking the bank. Oversized AC...
Read More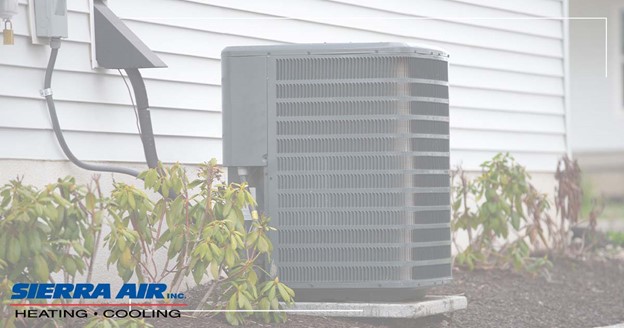
With rising temperatures, it’s a good time to ensure your air conditioner is ready for the summer heat. To ensure...
Read More
A water heater is a vital appliance in any home, providing hot water for showers, washing dishes or clothes, and...
Read More
When the dog days of summer hit, we all rely on our air conditioner to keep our homes cool and...
Read More